MTS Off-Road RZR Pro R/Turbo R/Pro S Sway Bar End Links
Take control of your Polaris with the MTS Offroad Sway Bar Link Kit, engineered specifically for the RZR Pro R, Turbo R, and Pro S. Stock links are prone to flexing and premature wear — our heavy-duty design eliminates weak points, giving you improved handling, tighter cornering, and long-lasting durability.
✔ Fits: RZR Pro R, RZR Turbo R, RZR Pro S (all models/years) ✔ Stronger than OEM: CNC-machined ends with premium hardware ✔ High-misalignment heims: Smooth articulation, no binding ✔ Built for abuse: Race-tested in desert, dunes, and rock crawling ✔ Direct bolt-on: No modifications required
Whether you’re carving dunes, racing desert trails, or just pushing your RZR harder than stock links can handle, the MTS Offroad Sway Bar Link Kit is the upgrade your suspension deserves.
Q: Will this fit both 2-seat and 4-seat RZR models? A: Yes, this kit fits all Polaris RZR Pro R, Turbo R, and Pro S models, both 2- and 4-seat.
Q: Do I need special tools to install? A: No, installation is straightforward with basic hand tools.
Q: Why upgrade sway bar links? A: Stronger links reduce flex, improve cornering stability, and last longer under aggressive riding compared to stock.
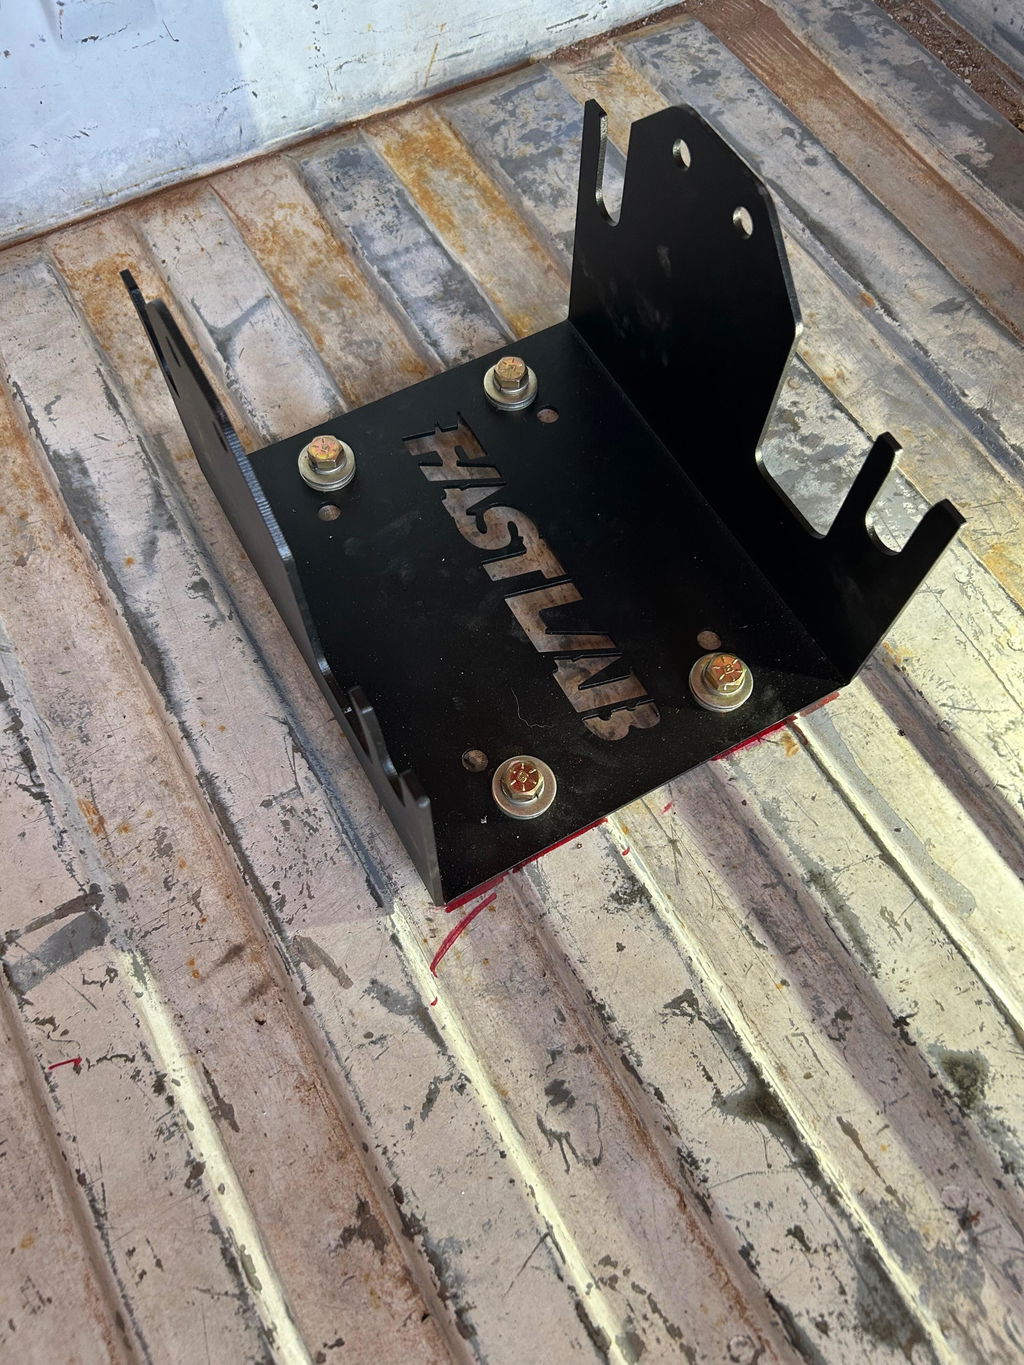
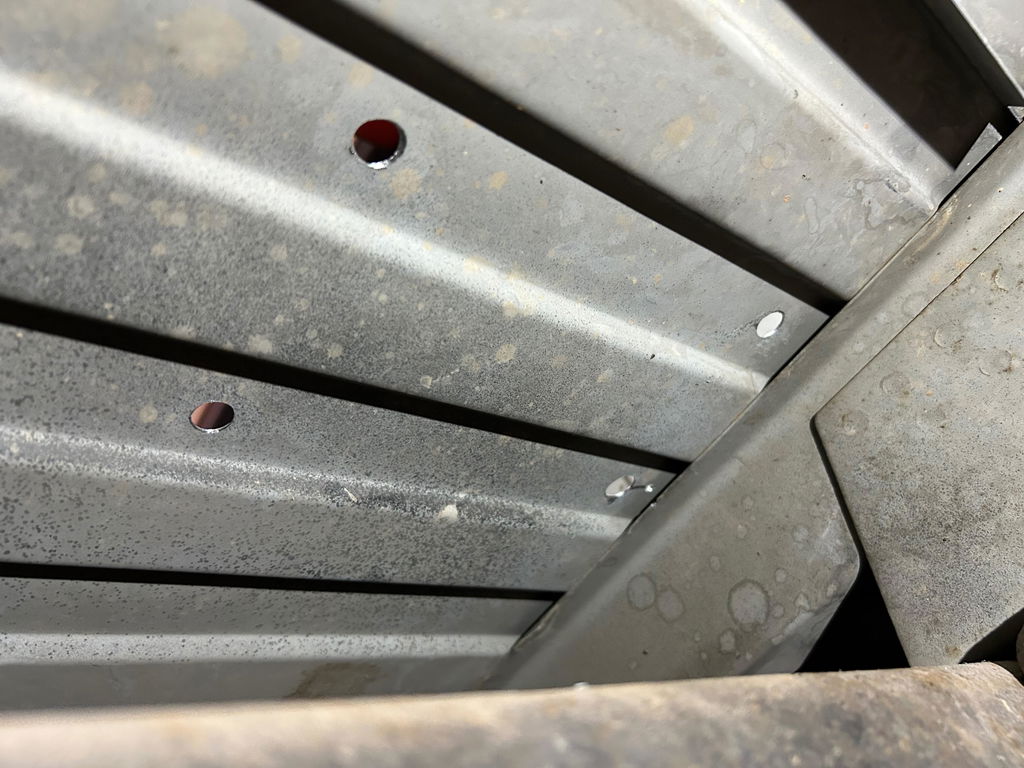
This definitely fits well and hold firmly, but the value is not what I anticipated. The fasteners are silver and stick out like a sore thumb. The mount between the plate and the clamp seems to made out of PETG 3D printed material, it could have at least been a more sturdy material. The mount should also be printed with a few more layers in height to give a bit more clearance. Although not NEEDED, a sheet with quick instructions would have been nice as well. I would recommend this for a 2026 Pro XP, but it should be about 50% off its current price.
It really fits perfectly on my 2026 polaris xp 4 1000 turbo. Very easy to put on and if it came stock it couldn't have been any better. Glad i chose this one when i bought.